Free Shipping – Store Wide
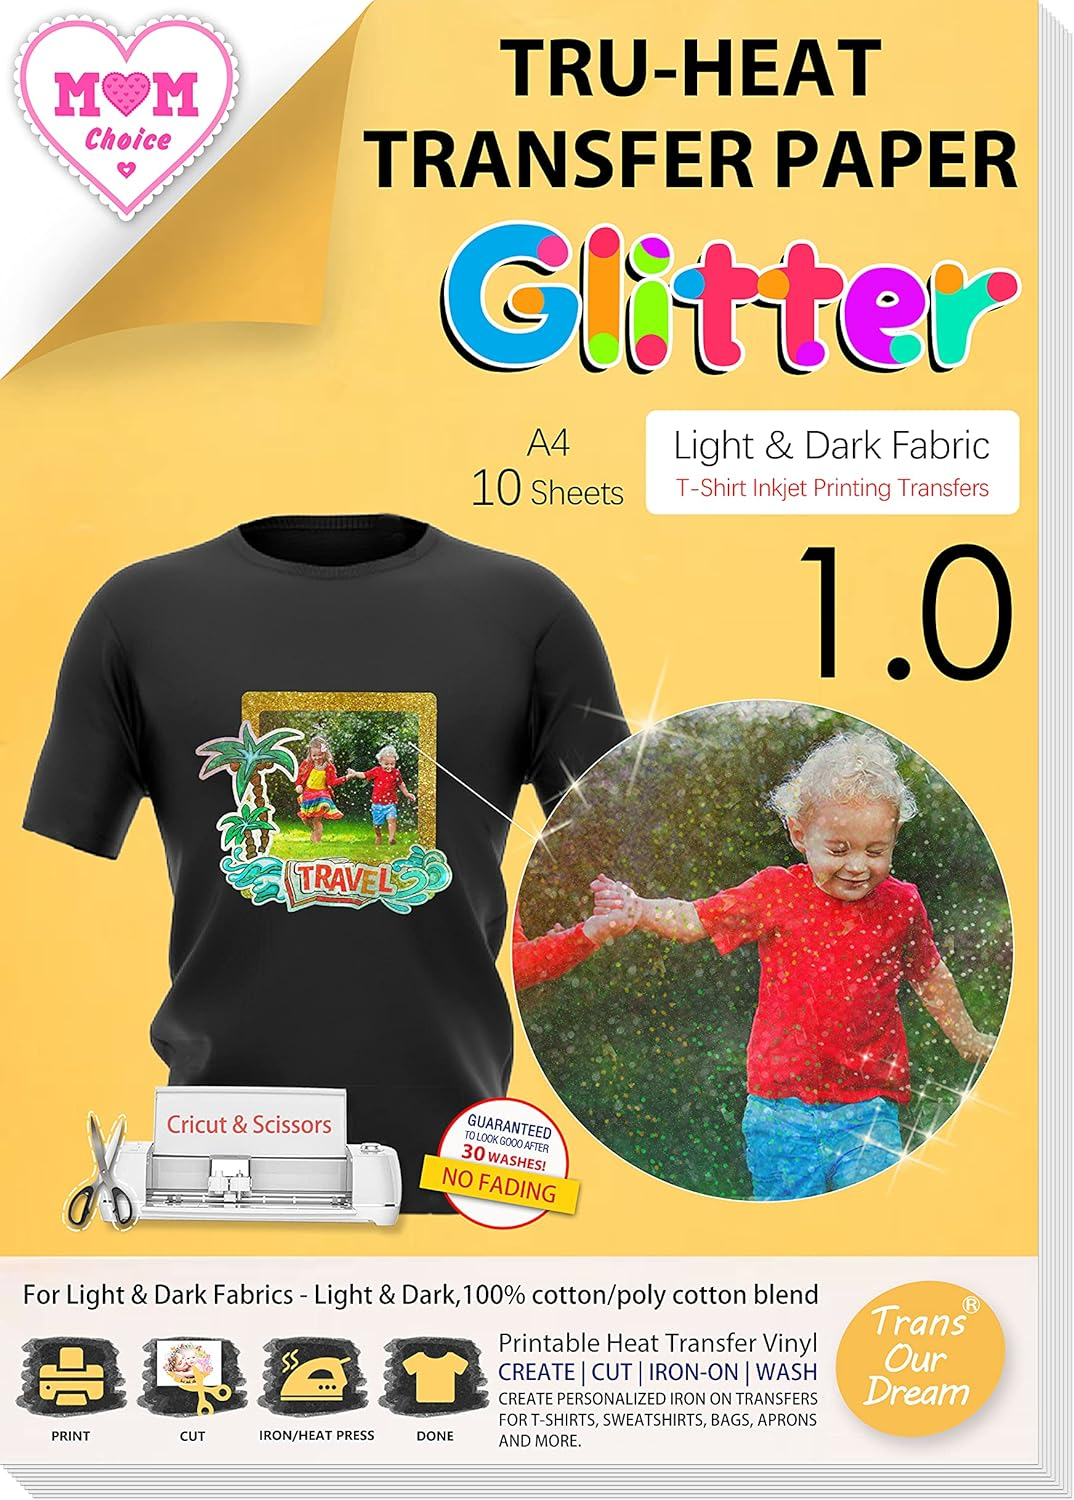
Transourdream Glitter 1.0 Iron on Heat Transfer Paper for T Shirts (10 Sheets, A4) Printable Heat Transfer Vinyl for Inkjet Printer Iron-On Transfers Paper for Light and Dark Fabric (AU-10-10)
Transourdream Glitter 1.0 Iron on Heat Transfer Paper for T Shirts (10 Sheets, A4) Printable Heat Transfer Vinyl for Inkjet Printer Iron-On Transfers Paper for Light and Dark Fabric (AU-10-10)
Brand: TransOurDream
A$19.95
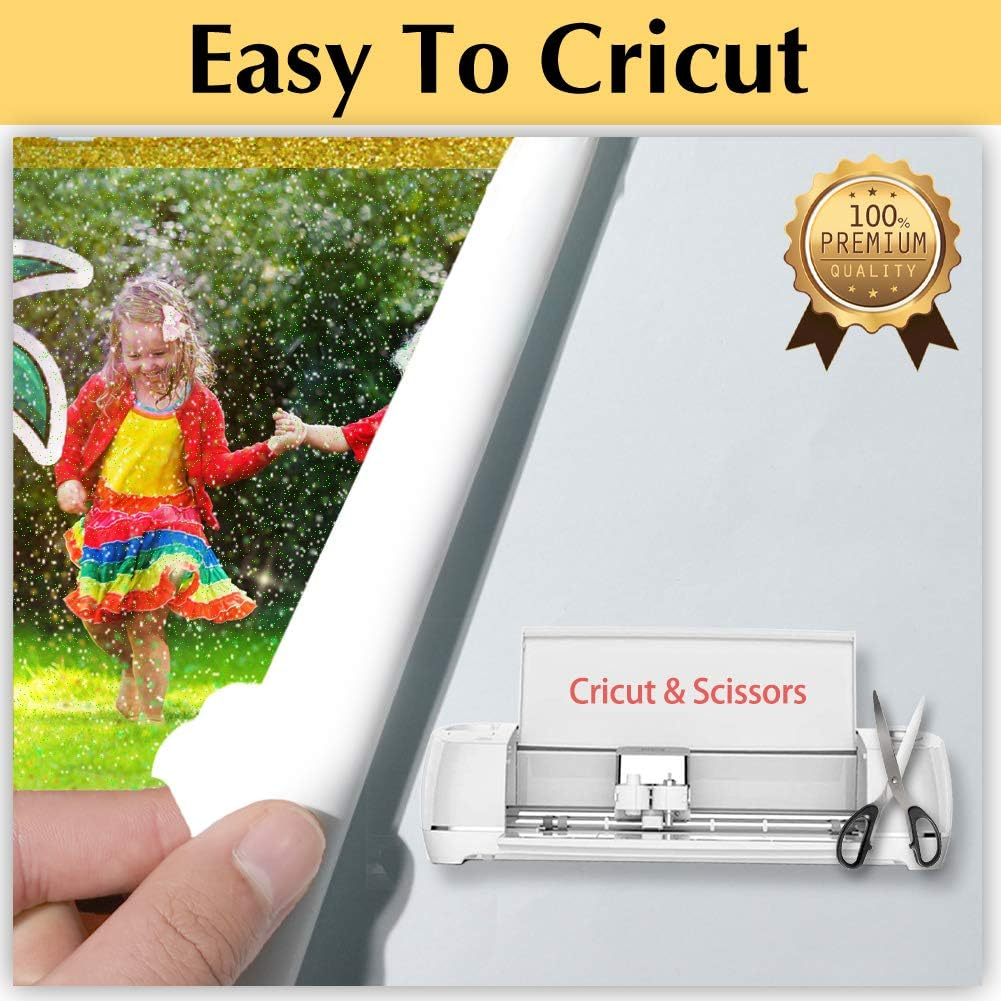
- ✨TRU-GLITTER TRANSFER PAPER: Pack of 10 sheets Glitter Heat Transfer Paper and 1 sheet of A3 reusable Teflon Paper. This printable Glitter Heat Transfer Vinyl presents better vibrant sparkle effect after washing (48 hours after transfer). Easy to be cut with Scissors & Cricut and compatible with ANY INKJET printers. Extremely machine wash durable, no peeling, no cracking and no fading after 30 washes.
- REQUIREMENTS: Inkjet Printers (such as HP, Brother, Canon and more) | Pigment Ink, or Dye Ink | Scissors or Cutting Machine (Cricut, Silhouette and more) | Iron or Heat Press machine | Teflon Paper (included in the pack).
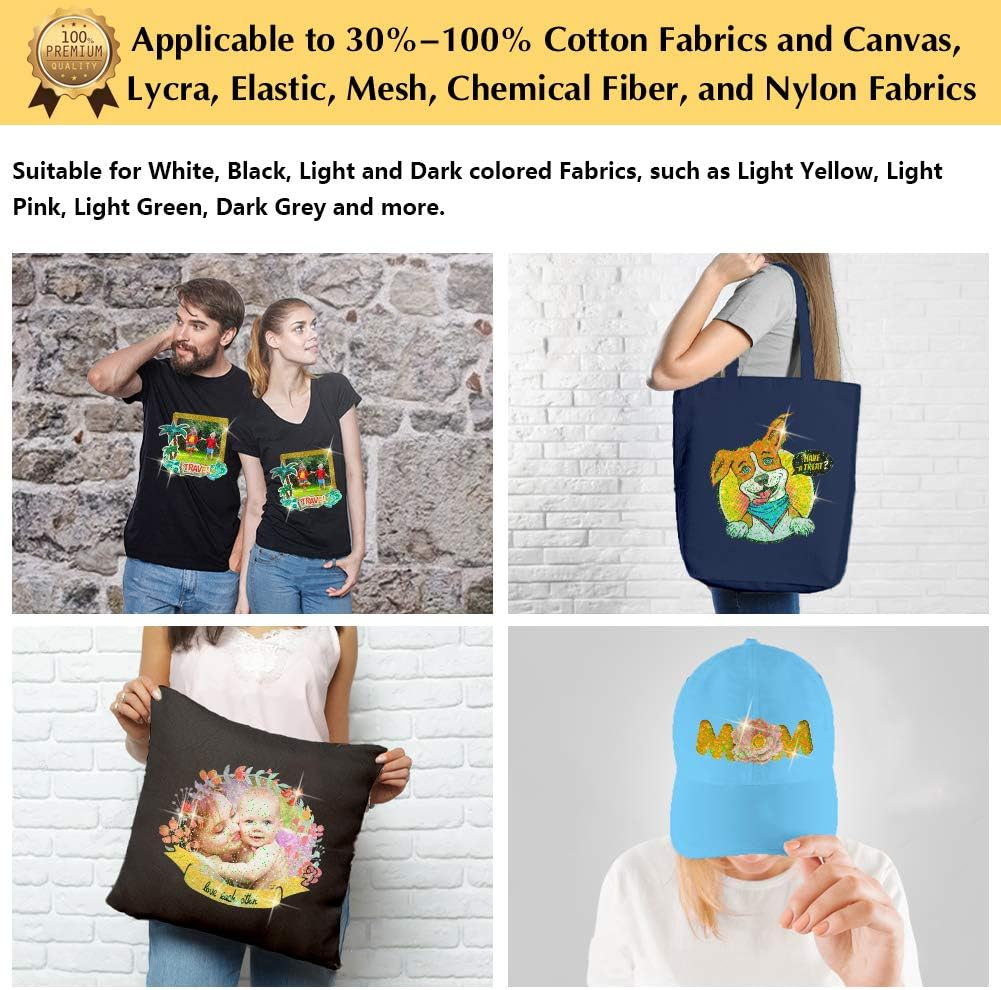
- APPLICATIONS: Transfer text, images, photos and pictures onto both Light and Dark color 30%~100% cotton or poly cotton blend, such as sweatshirts, hoodies, totes, canvas bags, aprons, masks, pillow cases, cushion covers, tablecloths, flags and banners. Make custom DIY gifts to your friends or your family on Mother's Day, Father's Day, Birthday, Thanksgiving, Easter, Halloween, Christmas, Valentine's Day or Wedding Day.
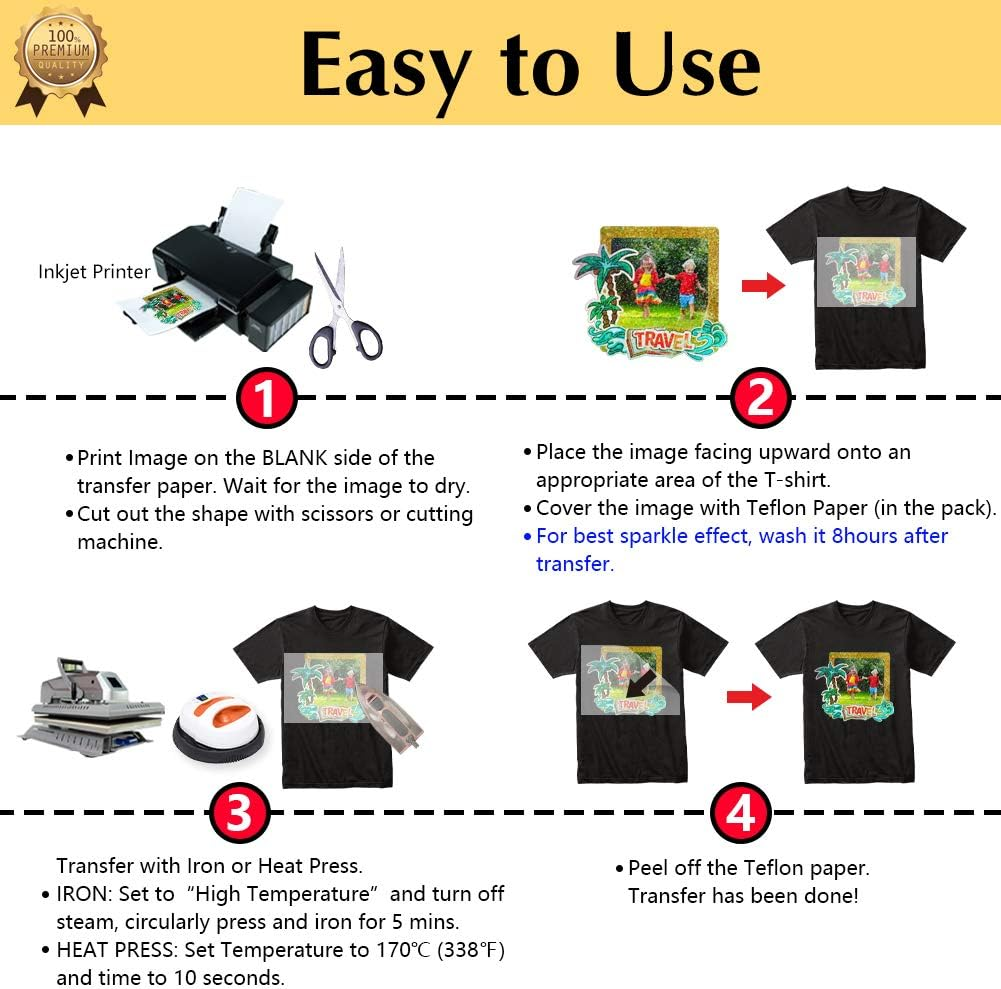
- EASY TO USE: [1] No Mirror Print & Cut out your design. [2] Place the printed image facing UPWARDS onto fabrics and cover the image with teflon sheet (in the pack). [3] Transfer Image with Iron or Heat Press. [4] Remove the teflon paper. Transfer has been done! Step-by-step instructions are on the back of cover paper in the pack.
- WHO ARE WE: We are a leading manufacturer with 20 years R&D, production and OEM experience (for many premium global brands) in heat transfer paper, waterslide decal paper and more. TransOurDream is one of our brands which is committed to offer high quality products for both home and professional users. Meanwhile we can help you build your own brand and print your logo on the backing of transfer paper. Any questions please don’t hesitate to contact us.
Product Description
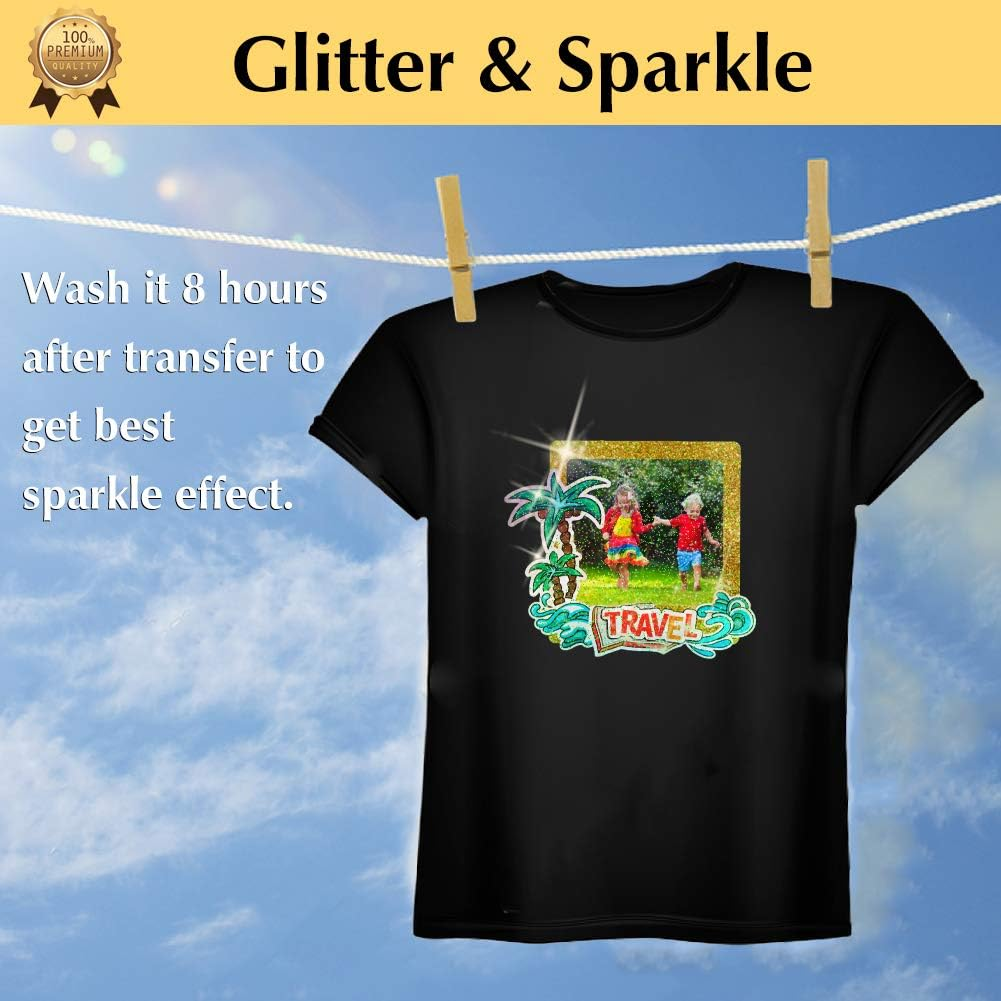
HOW TO GET BEST GLITTER EFFECT?
- WASH T-SHIRT 8 HOURS AFTER TRANSFER: After transfer completed, wait for 8 hours then wash the T-shirt. The transfers will present the best glitter effect.
- UNDER SUNSHINE OR LIGHT: The transferred image glitters better under sunshine or light, making your creativity shining and more personalized.
Ironing Tool Option
IRON - TRANSFER STEPS
- Set iron to High Temperature (like Cotton/Jeans) Setting and TURN OFF steam.
- Apply FIRM, EVEN and HEAVY pressure and iron each area of the image for 5 seconds. Circularly press and iron the image for 5 minutes in total.
- Ensure that all areas of the image is ironed, especially the corners and edges.
NOTES:
- Apply ENOUGH pressure on the transfer as more pressure will help transfer all of the print onto the fabric.
- INSUFFICIENT PRESSURE and IRONING TIME would achieve poor transfer result - the transferred image may peel off.
EASY PRESS - TRANSFER STEPS
Temperature and Time may vary based on easy heat press type and image size. Suggest you do a test before transfer onto t-shirts.
For A4 size image, set temperature to 170℃(338℉) and time to 120 seconds.
- At first, heat press the whole image slowly from one side to the other side.
- Apply HEAVY pressure on each area of the image for 10 seconds, circularly iron the whole image 4 times (80 seconds in total).
- At last, heat press each corner of the image for 10~20 seconds. NOTES: If the corner peels off, cover the Teflon paper(in the pack) and heat press it for another 10~20 seconds.
HEAT PRESS - TRANSFER STEPS
- Set Temperature to 170℃(338°F).
- Set Time to 10 seconds.
- Apply MEDIUM pressure.
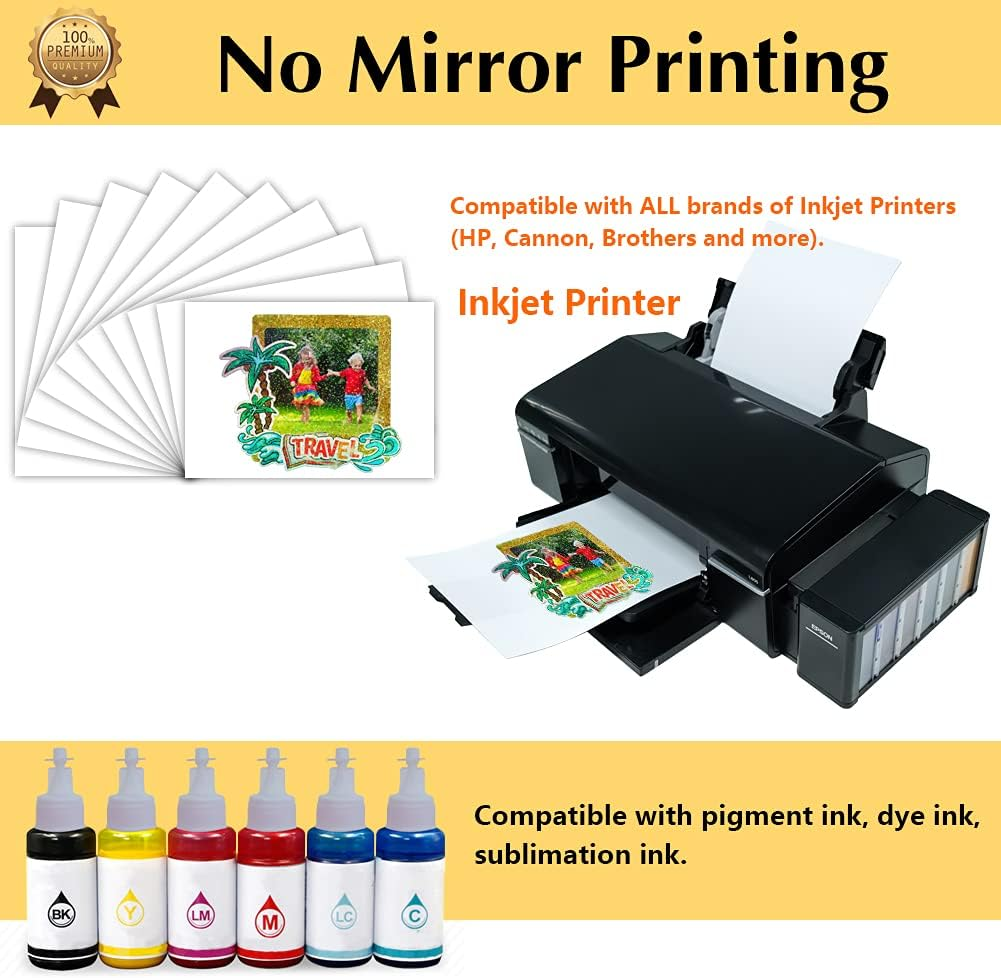
Step 1: PRINT
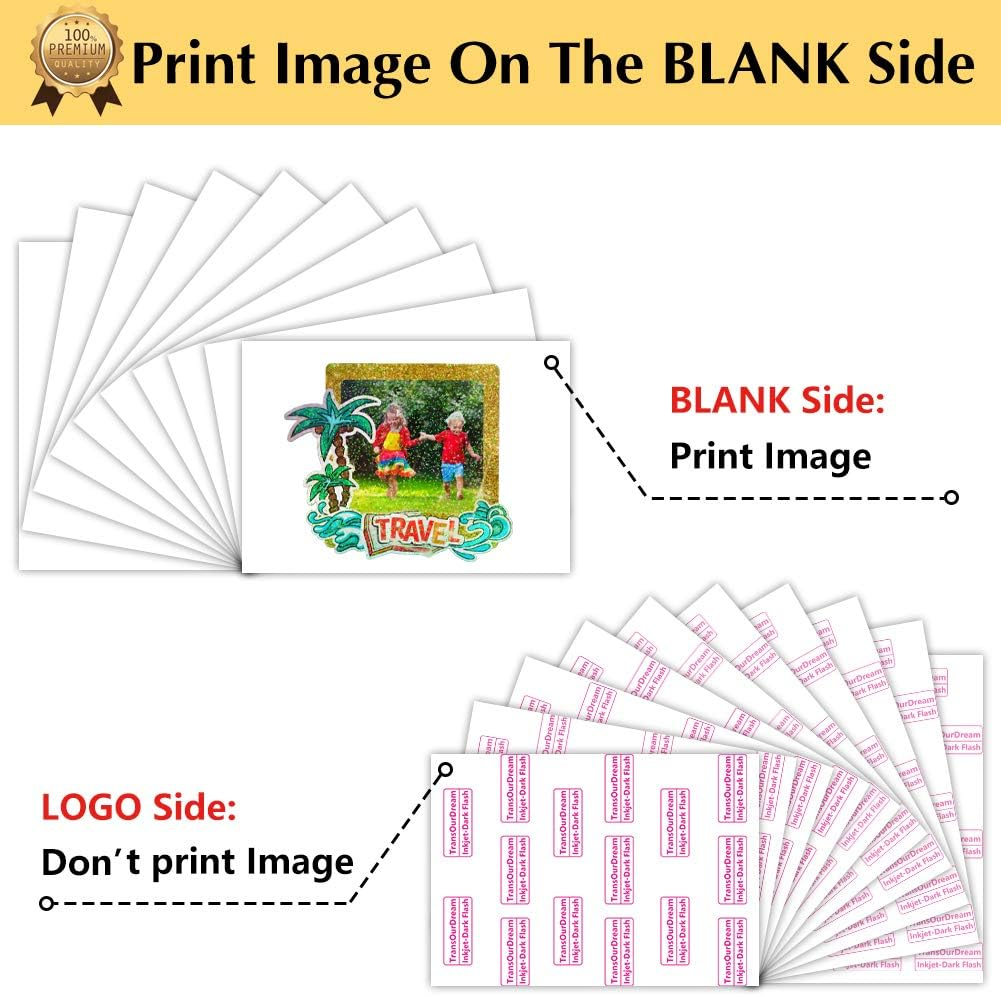
Print your design on the BLANK Side of transfer paper.
Before Printing:
- Set Paper Type to Plain Paper or Photo Paper.
- Set Printing Quality to Photo or High Quality Photo.
- No MIRROR Printing.
NOTES: Compatible with pigment ink, dye ink and ALL brands of inkjet printers (HP, Cannon, Brothers and more).
Step 2: CUT & PEEL
- Cut out your design: Use scissors or cutting machine, such as Cricut, Silhouette and more.
- Peel your design from the backing LOGO paper.
NOTES: Transfer Paper is composed of two layers - the BLANK film and the backing LOGO paper.
Step 3: PLACE
- Remove Creases: Place your t-shirt on a SOLID surface (Don’t use ironing board as it’s too soft) and use your ironing tool to smooth out creases on t-shirt.
- Place your design facing UPWARD onto appropriate position of T-shirt.
- Cover it with Teflon Paper (included in the pack).
NOTES: Place the Teflon paper towards your design to protect it during ironing.
Step 4: TRANSFER
Please refer to the specific operations for your ironing tool accordingly in the above figure.
- IRON - Please see IRON - TRANSFER STEPS.
- EASY PRESS - Please see EASY PRESS - TRANSFER STEPS.
- HEAT PRESS MACHINE - Please see HEAT PRESS - TRANSFER STEPS.
Step 5: REMOVE TEFLON PAPER
After ironing done, peel off Teflon paper.
Step 6: DONE
Congratulations! Your DIY image transfer has been done. Enjoy!
- Package Dimensions: 30 x 22 x 1 cm; 190 Grams
- Manufacturer reference: AU-10-10
- Manufacturer: Transourdream
A$19.95
Shipping to Australia
Delivery time varies by location
Return & Refund Policy
Check our return & refund policy
Security & Privacy
Safe payments: We do not share your personal details
Availability:
-
In Stock
Sign in
or create an eMega account
Shop smarter — get exclusive deals & order tracking